Equipment of the laboratory of reactor test of new materials and investigation of pressure vessel materials
Cutting out of template from reactor pressure vessel
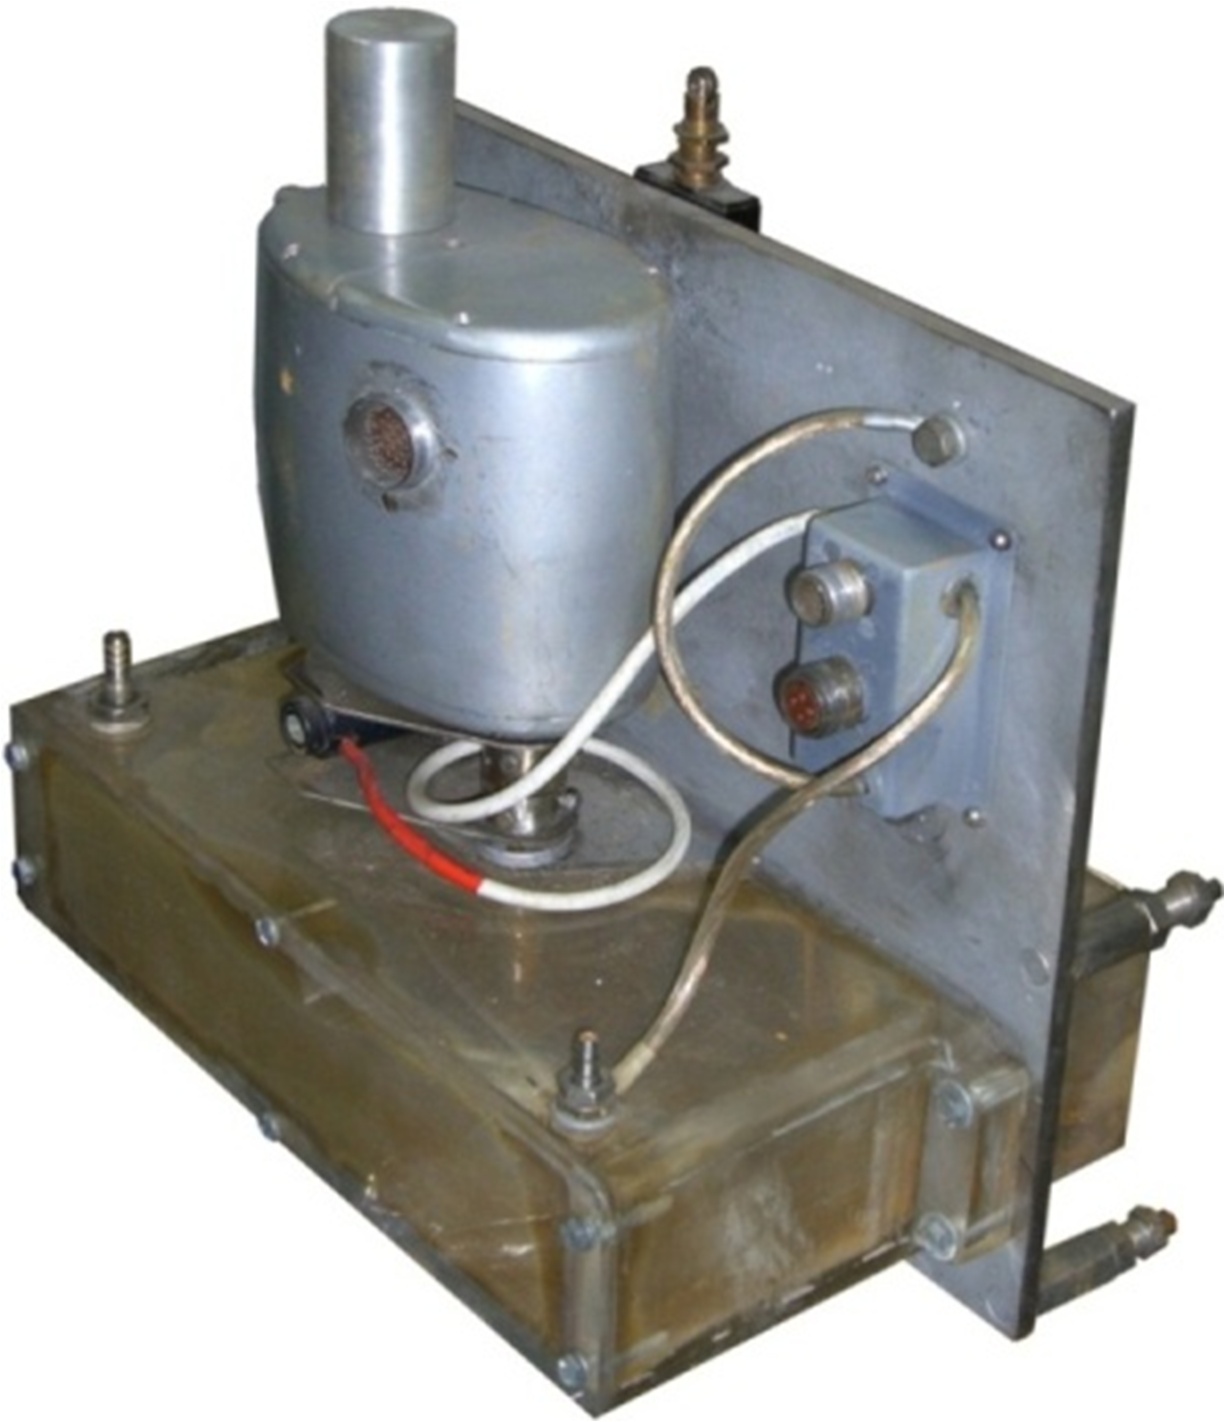
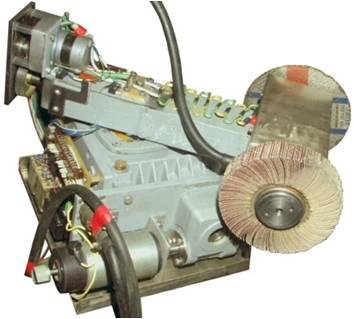
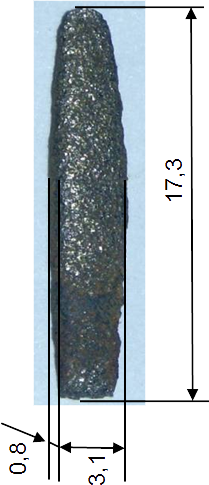
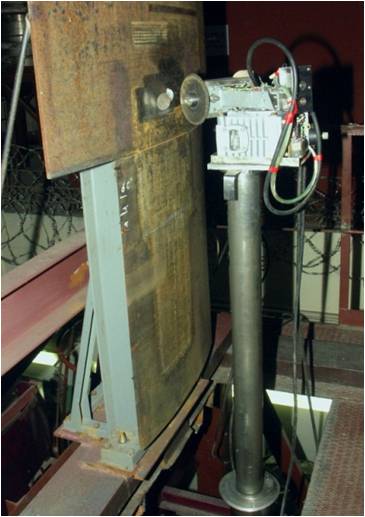
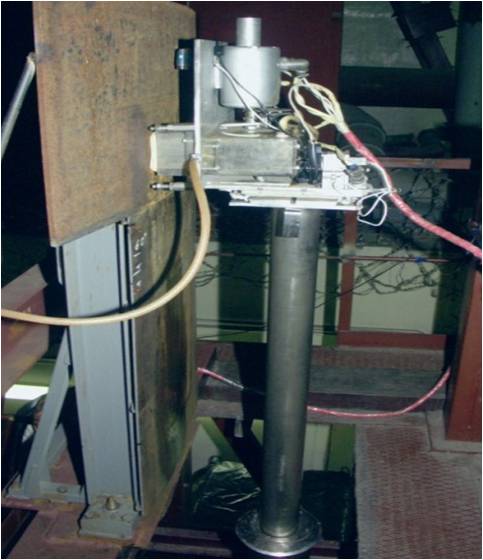
Cutting out of template from main circulation pipeline on power generating units of NPS of Ukraine
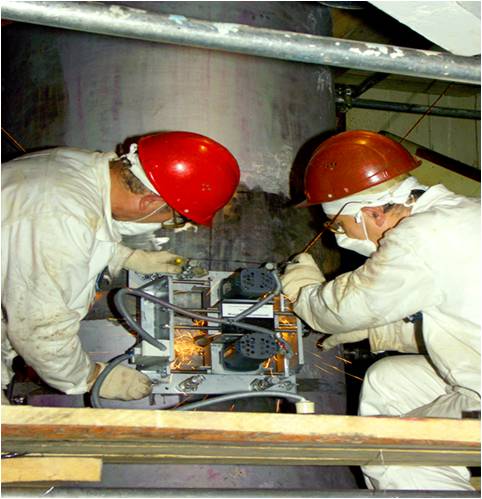
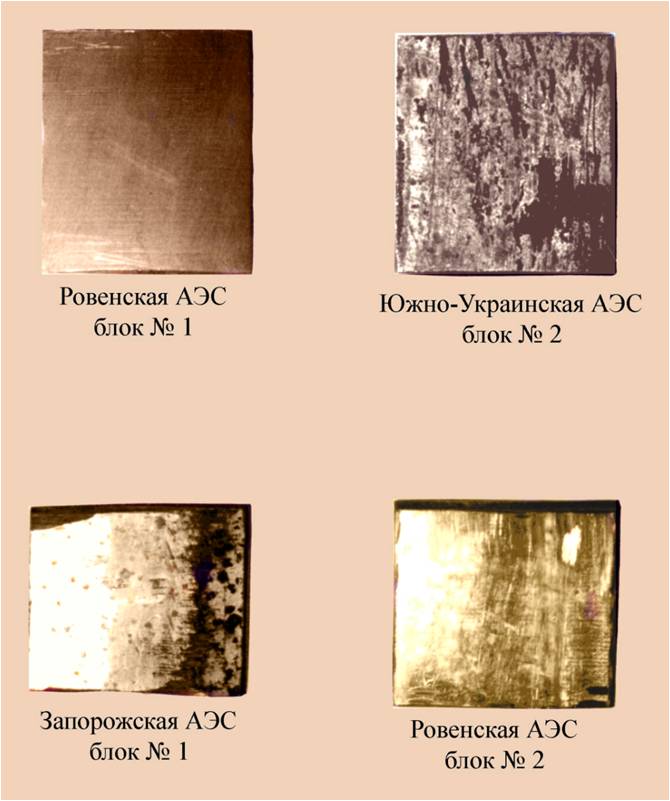
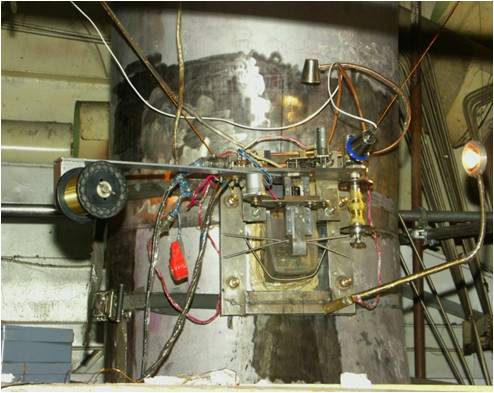
Control of stressed-deformed state of pressure vessel of reactor WWER-1000
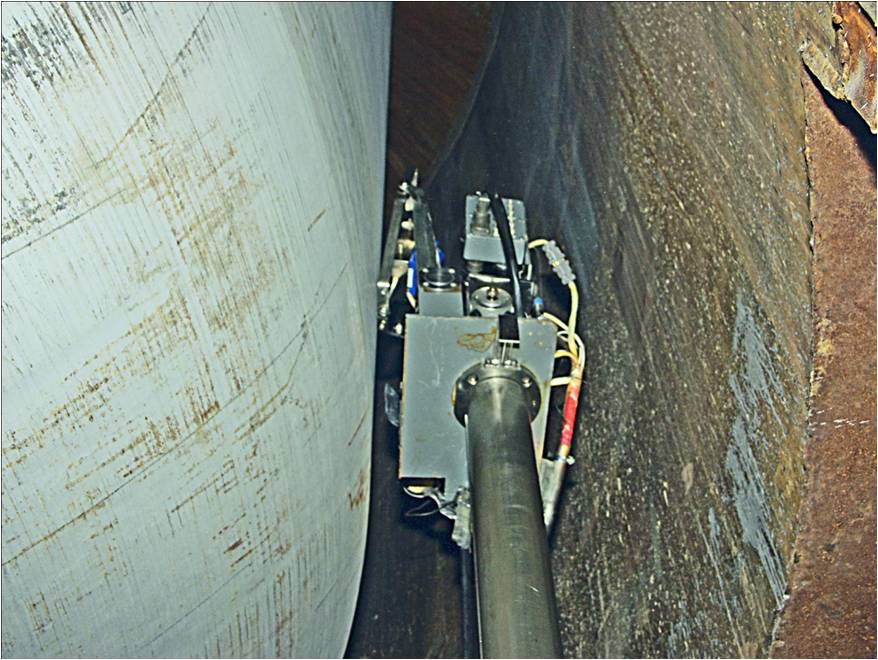
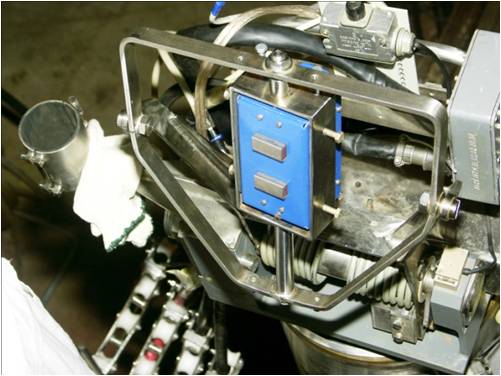
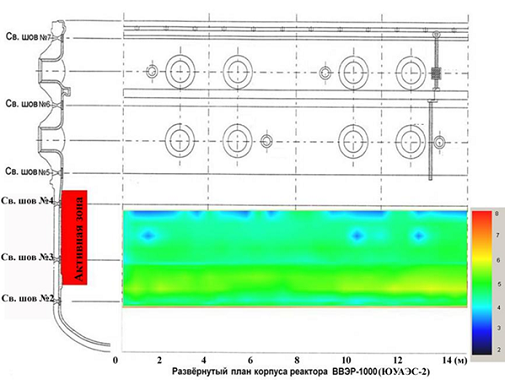
Investigation of mechanisms of failure of welded joints of header welding to branch pipe Du-1200 of steam generator PGV-1000M of reactor WWER-1000
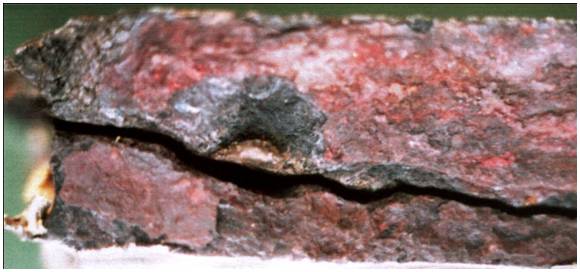
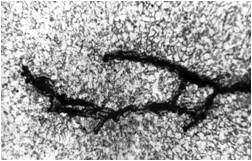
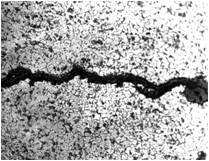
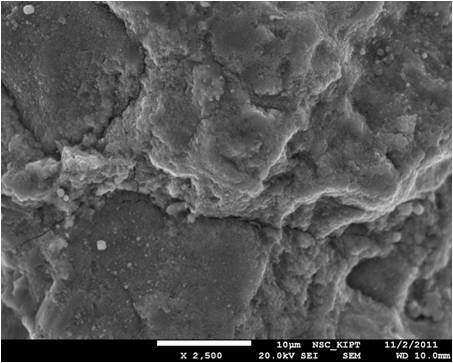 |
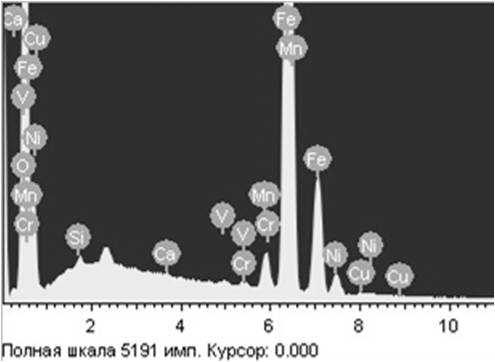 |
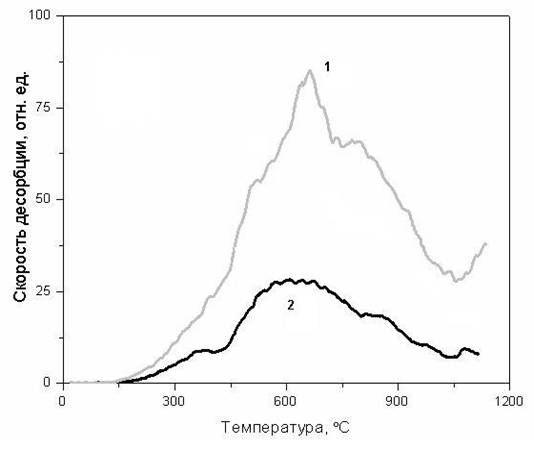 |
| The desorption of hydrogen in steel 10GN2MFA crack stop (1) and the outer side of templates (2) |
| Element | Atomic % |
|---|---|
| oxygen | 62.52 |
| silicon | 0.22 |
| calcium | 0.07 |
| vanadium | 0.08 |
| chromium | 0.09 |
| manganese | 1.09 |
| iron | 34.64 |
| nickel | 1.17 |
| copper | 0.12 |
| Total | 100 |
System for mechanical tests INSTRON 5581
Tension, compression, variable loading/compression
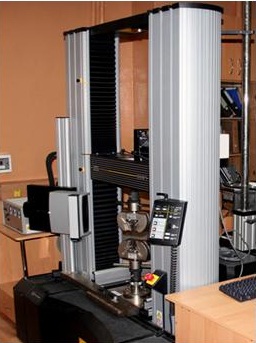
| Maximum tensile stress | 50 kH |
| Range of rate of tests: | 0.001 - 1000mm/min |
| Maximum travel of cross-piece | 1235 mm |
| Maximum load on full rate | 35 kH |
| Maximum rate on full load | 500 mm/min |
| High-temperature furnance up to | 1000 °С |
| Temperature of chamber | from -150° to +250°С |
| It's possible to use the hand, automatic and video extensometers. | |
Tooled pendulum impact testing machine
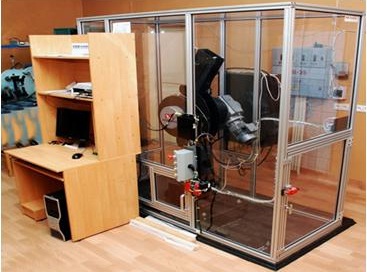
| Accumulated energy | 450 joules |
| Rate in moment of impact | 5.29 m/sec |
| Range of test temperature | -150-350°C |
| Temperature deviation | +/-1°C |
| Frequency of transducer survey during testing | 1.17 Megs for one channel or 0.585 Megs for two channels |
| Specimen dimension | 10х10х55 mm; 7.5х10х55 mm; 5х10х55 mm; 2х8х55 mm; 1х8х55 mm |

Motorized tool for preparation of specimens for Sharpe and Izode testing
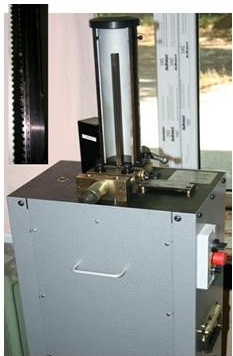
Is intended for notching of the type Sharpe U, Sharpe V and Izode V on rectangular and cylinder specimens.
The produced notches correspond to the demands of international standards:
ISO 148-1983(E),
BS EN 10045-1:1990,
ASTM A370,
GOST 9454-78
Broaching for notches of V-type, depth: 2-3.3 mm;
Broaching for notches of U-type, depth 2-3 mm;
Apparatus for multi notches on specimens with diameter: 0.45°
Apparatus for multi notches on rectangular specimens in transverse direction;
Apparatus for control of notches depth.
Micro cutting tool
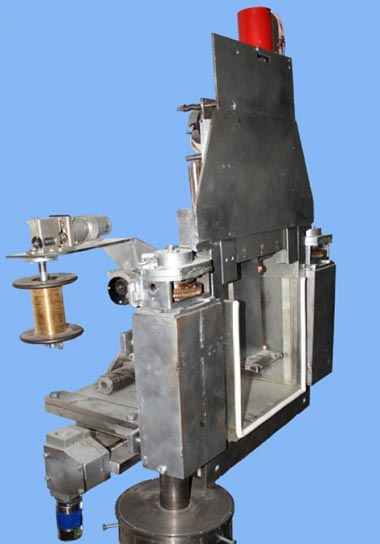
Are used:
- brass wire electrode with diameter 0.2 mm;
- the cut thickness is 0.3 mm;
- the mean rate of cutting is 3 mm/h;
- rigid plate electrode with thickness ~1 mm.
Thickness of template cut out from GST on Rovno nuclear power station, Zaporozhskaya nuclear power station and South Ukrainian NPS
| Power generating units of NPS | Wall thickness, mm | Minimal acceptable thickness of the wall, mm | Thickness of cut template, mm | Minimal |
| RNPS, unit # 1 | 43 | 34 | 4,7 | 36,8 |
| RNPS, unit # 2 | 38,3 | 34 | 1,6 | 36,1 |
| RNPS,unit # 3 | 94,8 | 63,1 | 4,2 | 2,2 |
| SU NPS, unit #1 | 87 | 63,1 | 3,5 | 81 |
| SU NPS, unit #2 | 86,5 | 63,1 | 4,0 | 82,2 |
| SU NPS, unit #3 | 87,2 | 63,1 | 3,2 | 82,1 |
| ZNPS, unit #1 | 83,1 | 59 | 4,4 | 79,1 |

